This detailed guide offers step-by-step instructions for setting up the 'Shoutcast v2' Authhash parameters on Shoutcast servers version 2.6 and beyond.
'Shoutcast v2' mandates the creation of an 'Authorization Key' (Authhash) for your stream, enabling registration in Shoutcast directories and designating it as a 'Public' stream. Failure to complete the 'Authhash' settings will result in the server acting as 'Private' until registration is finalized. The authorization key is essential for stations seeking visibility in directories; however, private stations do not require this.
To gain a more in-depth insight into Shoutcast's criteria for "public" listings, consult the dedicated wiki page for comprehensive information.
Creating the Authhash
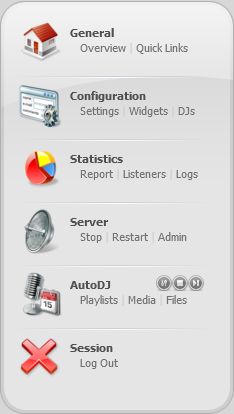
1. Navigate to the 'Admin' link in the left navigation menu on the 'Overview' page of your control panel.
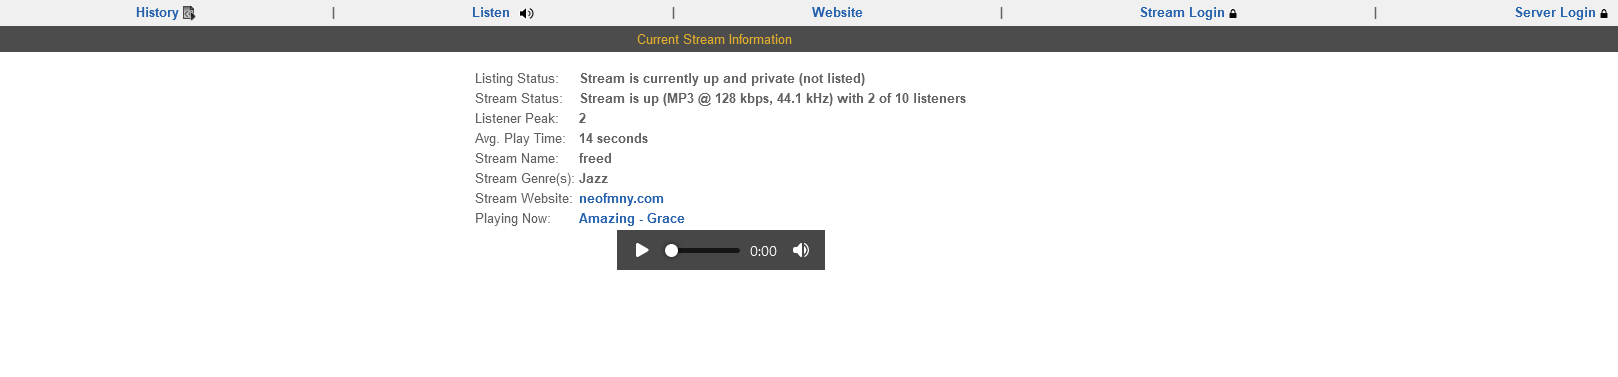
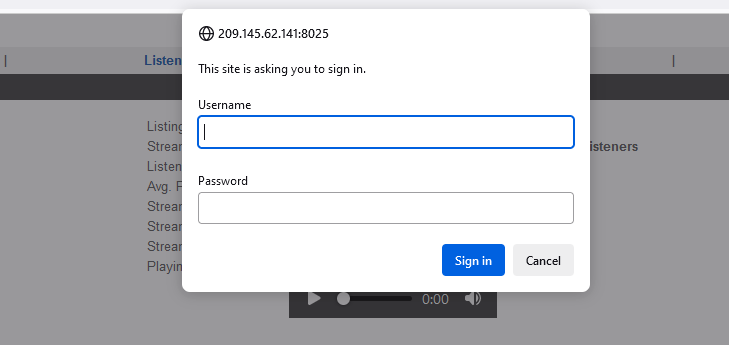
2. Access your server's "SHOUTcast Stream Status" page, using the 'Admin' login (Username: Admin, Password: control panel administrator password).
3. Click on the 'Create Authhash' link to generate your authorization key.
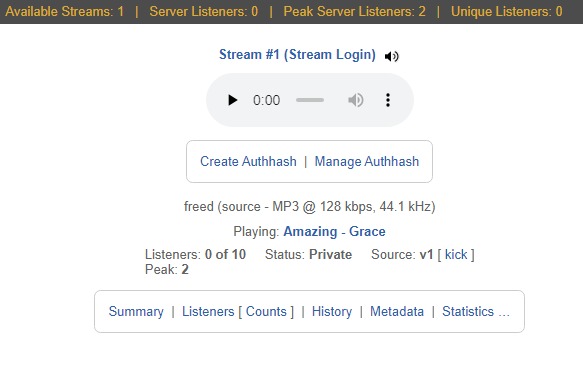
4. You'll be redirected to a page allowing you to enter or modify the Authhash. Click 'Create Authhash' again as it's not yet created.
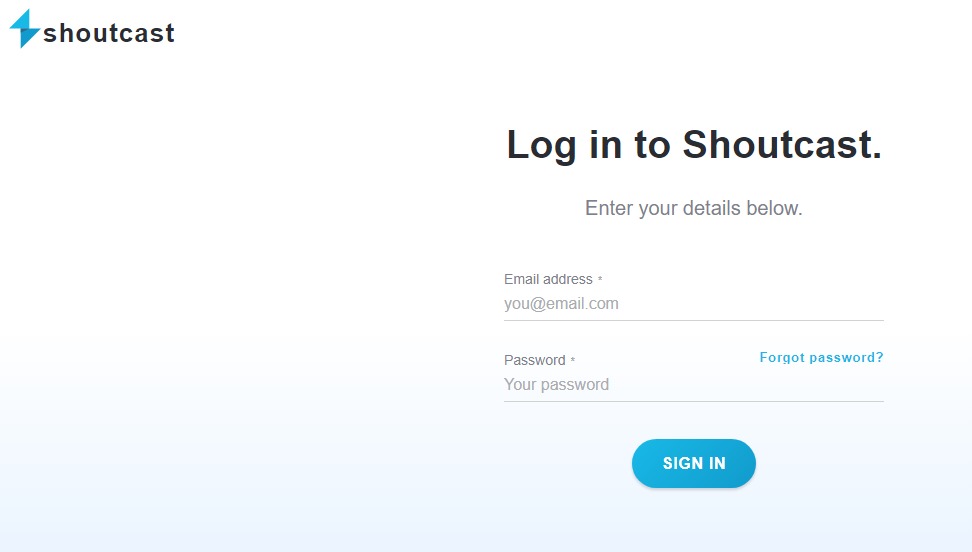
5. Subsequently, visit the Plans and Pricing page to sign in or create a new account.

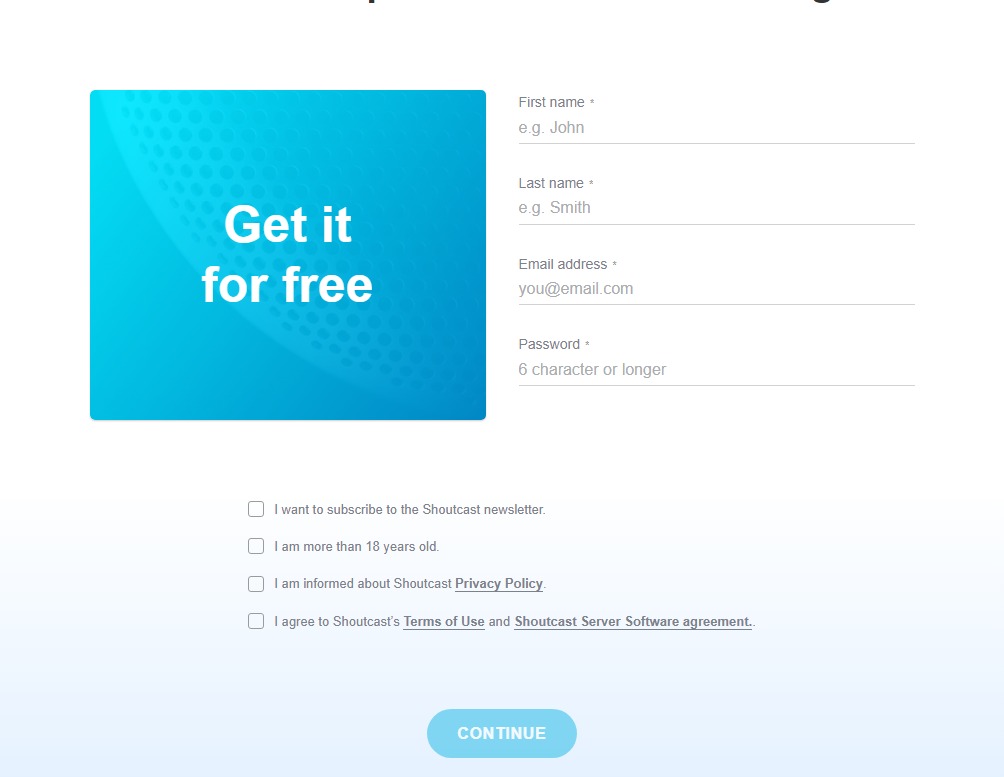
6. Choose 'Plans and Pricing' under plans, then select 'Shoutcast BASIC' for free Authhash registration. Complete the registration by entering your name, email address, and password.
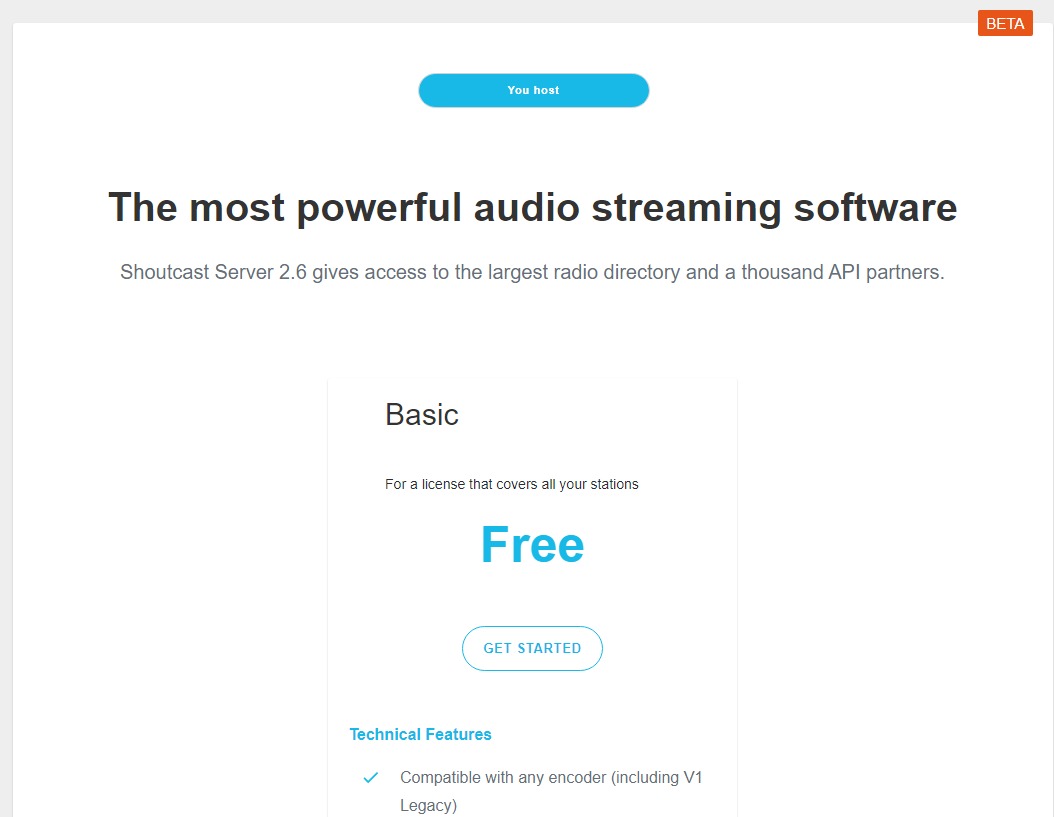
7. Click 'GET STARTED' for the 'Free' plan.
8. Providing your station logo, name, stream description, genres, and online station details.
![]()
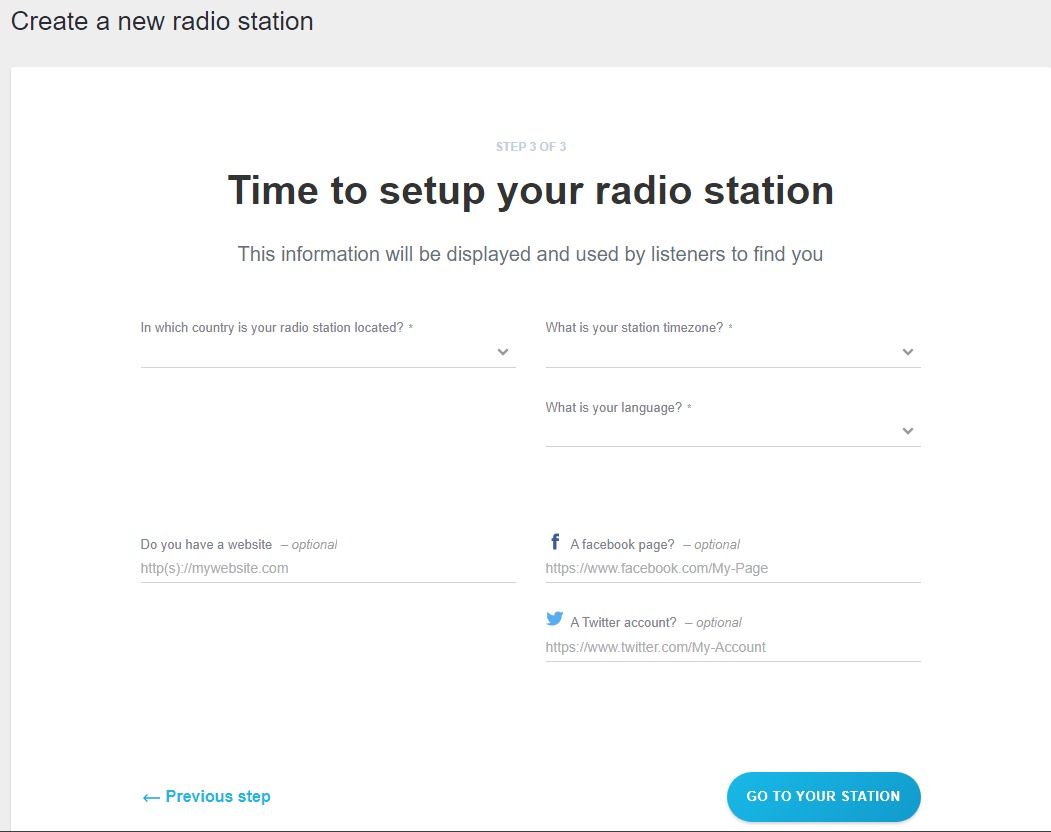
9. Set your station's location, time-zone, language information, and add your website URL and social media pages.
10. Upon completion, navigate to the 'Settings' options in the side menu, and under the 'Advanced' tab, find your station's Authhash key.
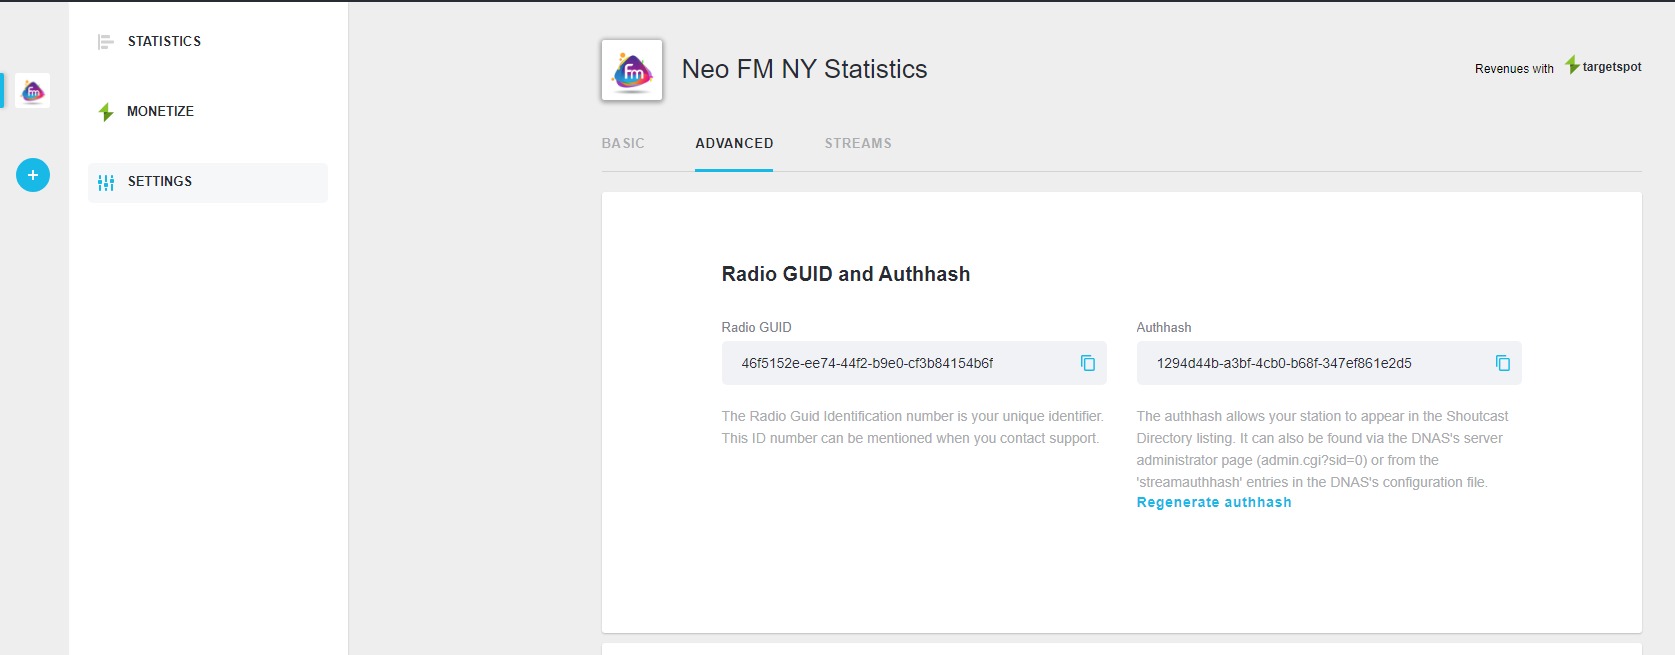
11. Copy and paste the Authhash into your Shoutcast server's settings, then click 'Save.' Your server is now 'Public' on Shoutcast directories.

12. Restart the Stream
After completing any of the aforementioned steps, ensure that you restart the stream to apply the changes. In Centova, select "Restart Server" located in the lower left corner. Please note that the reload option may not be effective, so be sure to opt for a complete restart.
Please allow up to 1-3 hours for the Shoutcast directory to receive and approve the information about your new station. It may take this amount of time for the changes to be fully processed. Kindly refrain from submitting a Support Ticket until the full 3 hours have passed to allow for sufficient time for the directory to update.
Note: The 'Free' version has limitations. To stream above 128kbps (in AAC format), a monthly fee of $9.90 is required. Refer to Shoutcast Pricing for details.
