Dive into seamless online radio setup with Centova Cast using our user-friendly step-by-step guide.
Accessing Centova Cast Panel
1. Log in to your DOScast Client Area and Click on the "View Details" as indicated in the image.
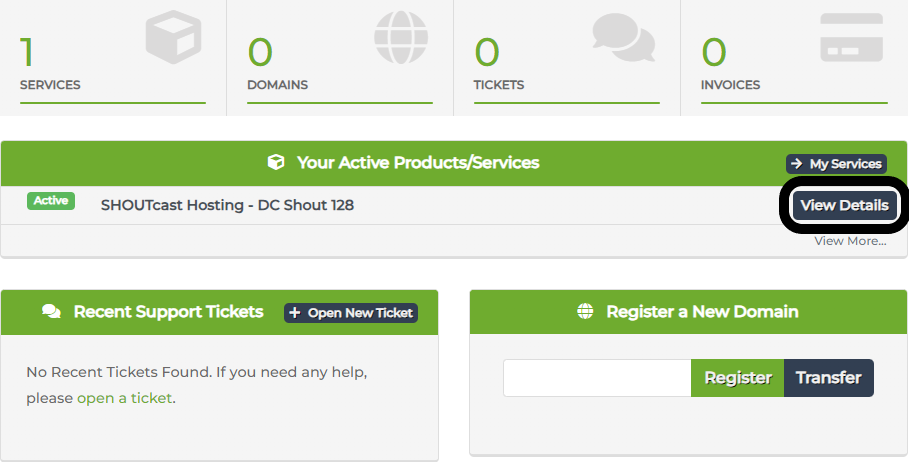
2. Click the "Login to Centova Cast" button.

Once logged in, your Centova Cast panel will provide a user-friendly interface for efficient station management.
Live Streaming with SHOUTcast/IceCast
To initiate a live broadcast, follow these steps:
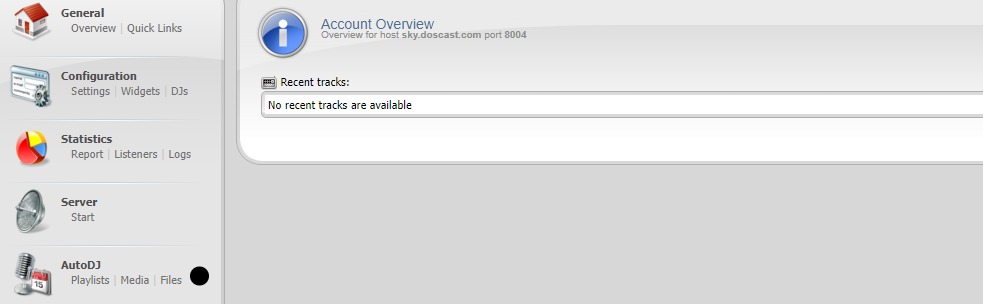
1. Retrieve streaming details from the General/Quick Links menu.

2. Copy the hostname, port, and mount (for Icecast).
3. Navigate to Configuration/Settings -> Stream and copy the source password.
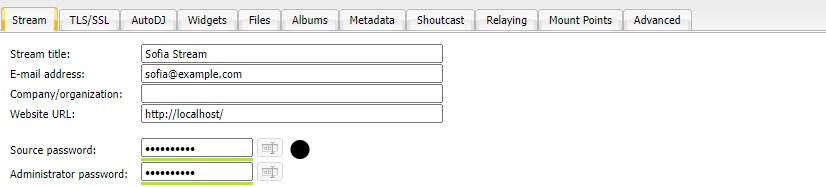
4. Configure your encoder settings with the obtained details.
Now, you're ready to start your live broadcast using your preferred streaming software.
AutoDJ Usage
Enabling AutoDJ
1. Stop the server from the left pane.
2. Navigate to Configuration -> Settings.
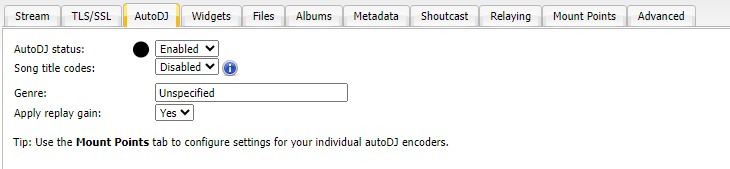
3. Change Auto DJ Status to enabled.
Uploading Files
Using File Manager
1. Access the Files tab under the AutoDJ menu.
2. Use the File Manager to manage and upload your audio files.

Using FTP
Refer to the Welcome Email for FTP details. Utilize a dedicated FTP application, such as FileZilla, using the provided information.
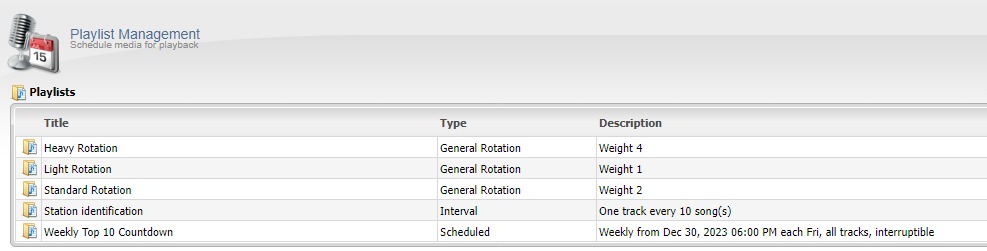
Managing Playlists
1. Navigate to the Playlists menu under AutoDJ.
2. Create playlists for General Rotation, Scheduled, Interval, and Immediate purposes.
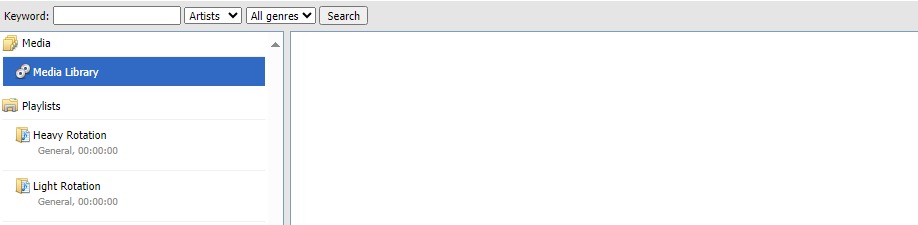
Adding Files to Playlists
1. Go to the Media tab under AutoDJ.
2. Drag and drop files into playlists or use Options -> Browse by folders.
3. After making changes, be sure to click on "Save" before returning to the dashboard.
4. To start your broadcast, navigate to the server menu in the sidebar and click on "Start".
DJ Management
If you have multiple live DJs, manage their access:
1. In the Configuration interface, select the DJ link.
2. Click on "Create DJ Account" to set up a new DJ account.
3. Enter details, set privileges, and define login restrictions.
4. Save to create the DJ account.
For further assistance, contact our Support Team at [email protected] or through the ticket submission form.
DOScast is committed to providing top-notch hosting services, and we're here to support your online radio journey.
